
Table of Contents
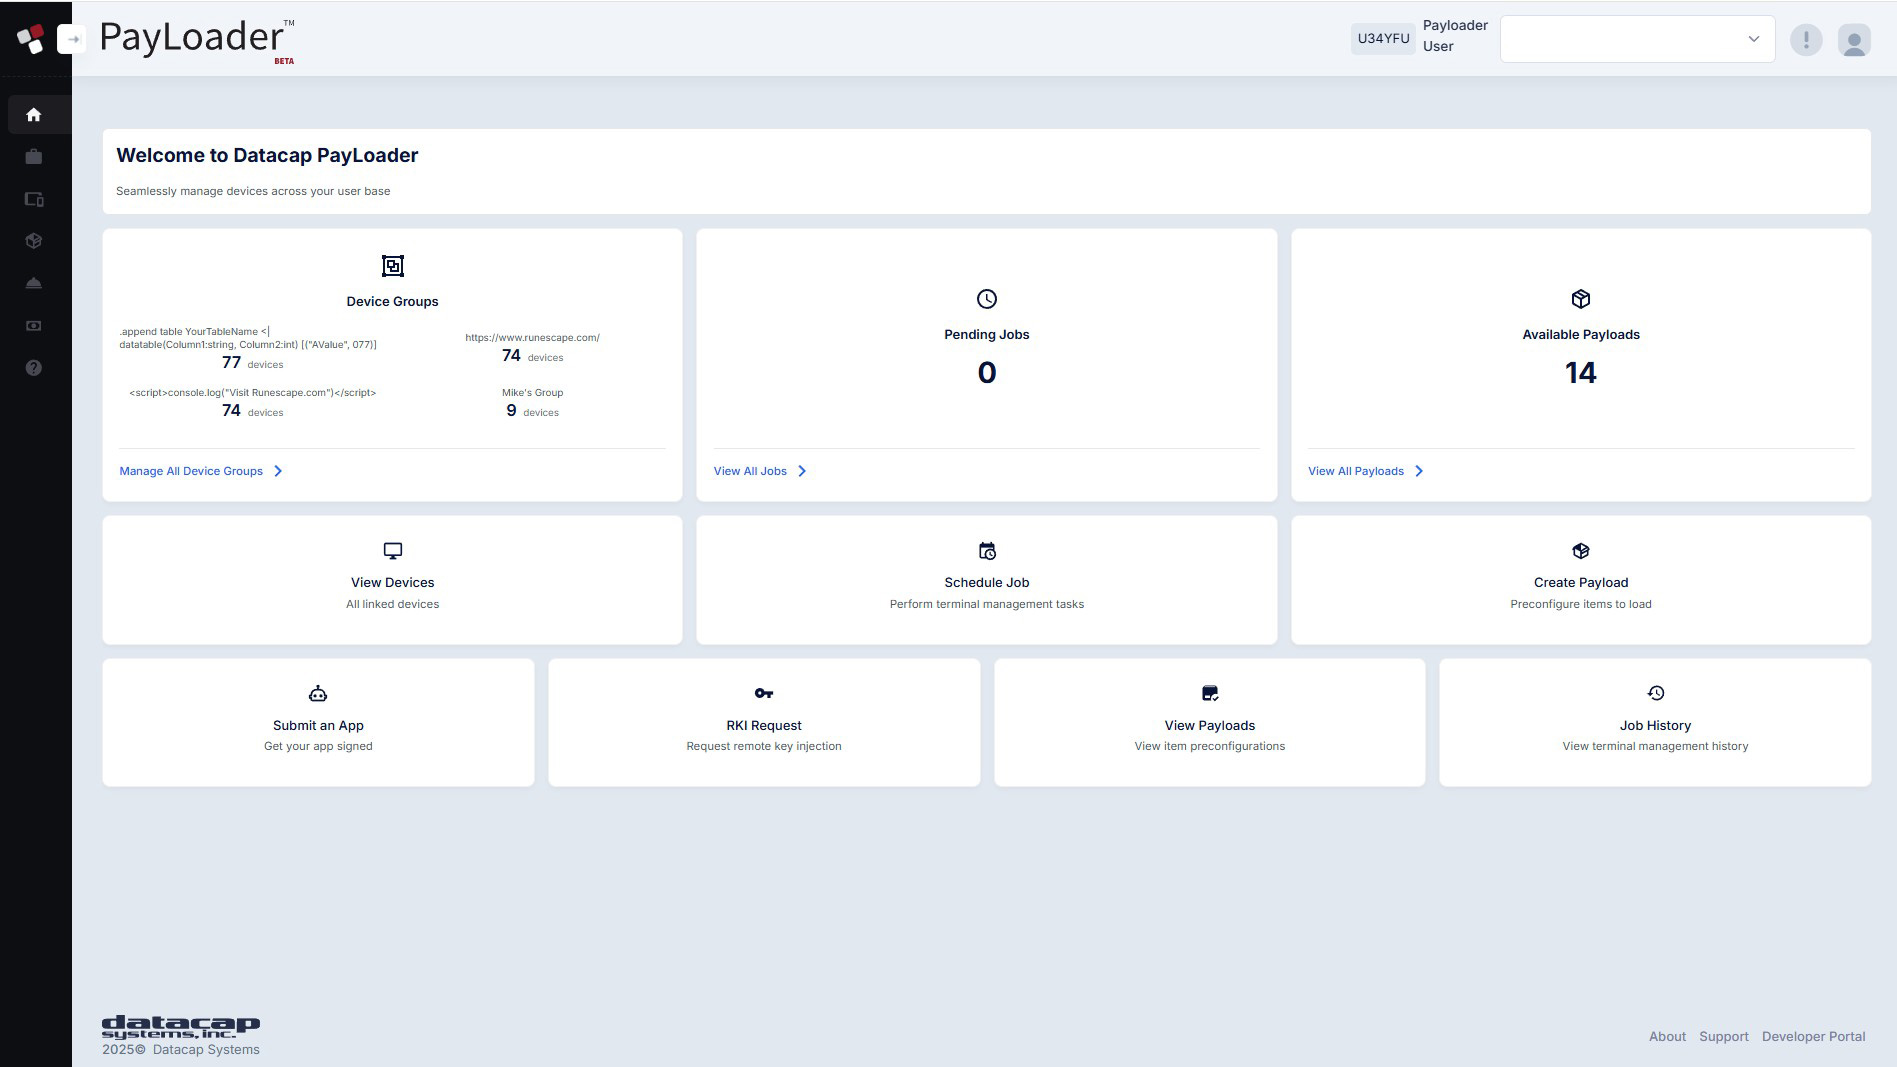
About PayLoader™
Datacap’s PayLoader Terminal Management System (TMS) gives Datacap partners full control over their payment devices in the field. From one centralized dashboard, users can update device encryption keys (RKI), deploy firmware updates, update device branding, manage companion applications and troubleshoot device issues. PayLoader API is also available for partners who prefer to push device updates programmatically. Datacap supported Android devices (PAX and Ingenico AXIUM) are pre-configured with the PayLoader app from distribution.

Managing Devices
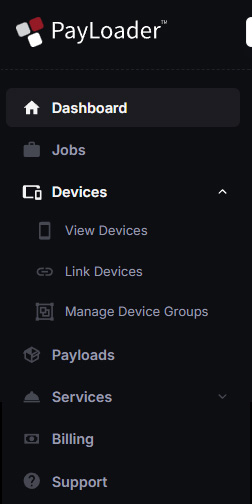
From the left navigation menu, click on devices to enter the submenu.
Linking Devices
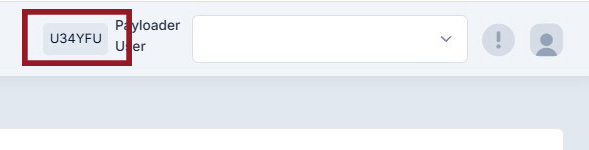
DC Direct™ devices are automatically linked to a deployment and company. For users using Datacap’s iOS/Android and NETePay™ (Windows) interfaces, devices will need to be linked to PayLoader. You can “bulk link” devices in the PayLoader dashboard or you can add them individually using the linking code (located in the upper-right portion) of the PayLoader dashboard.
1 From the devices menu, click on the "Link Devices" subtab. Enter a list of device serial numbers for device linking. Click Submit.
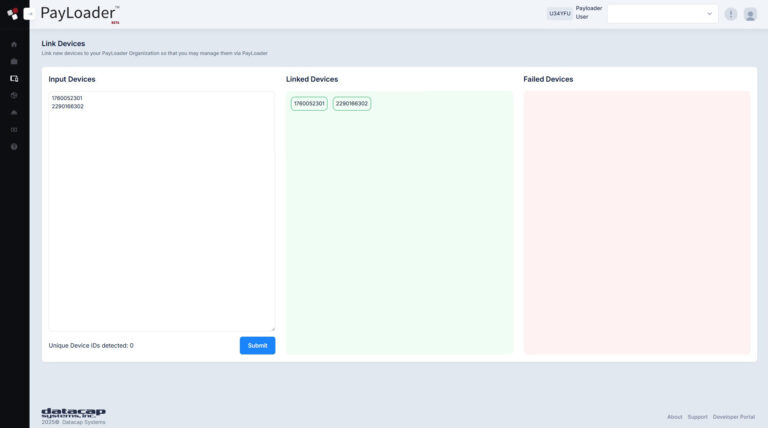
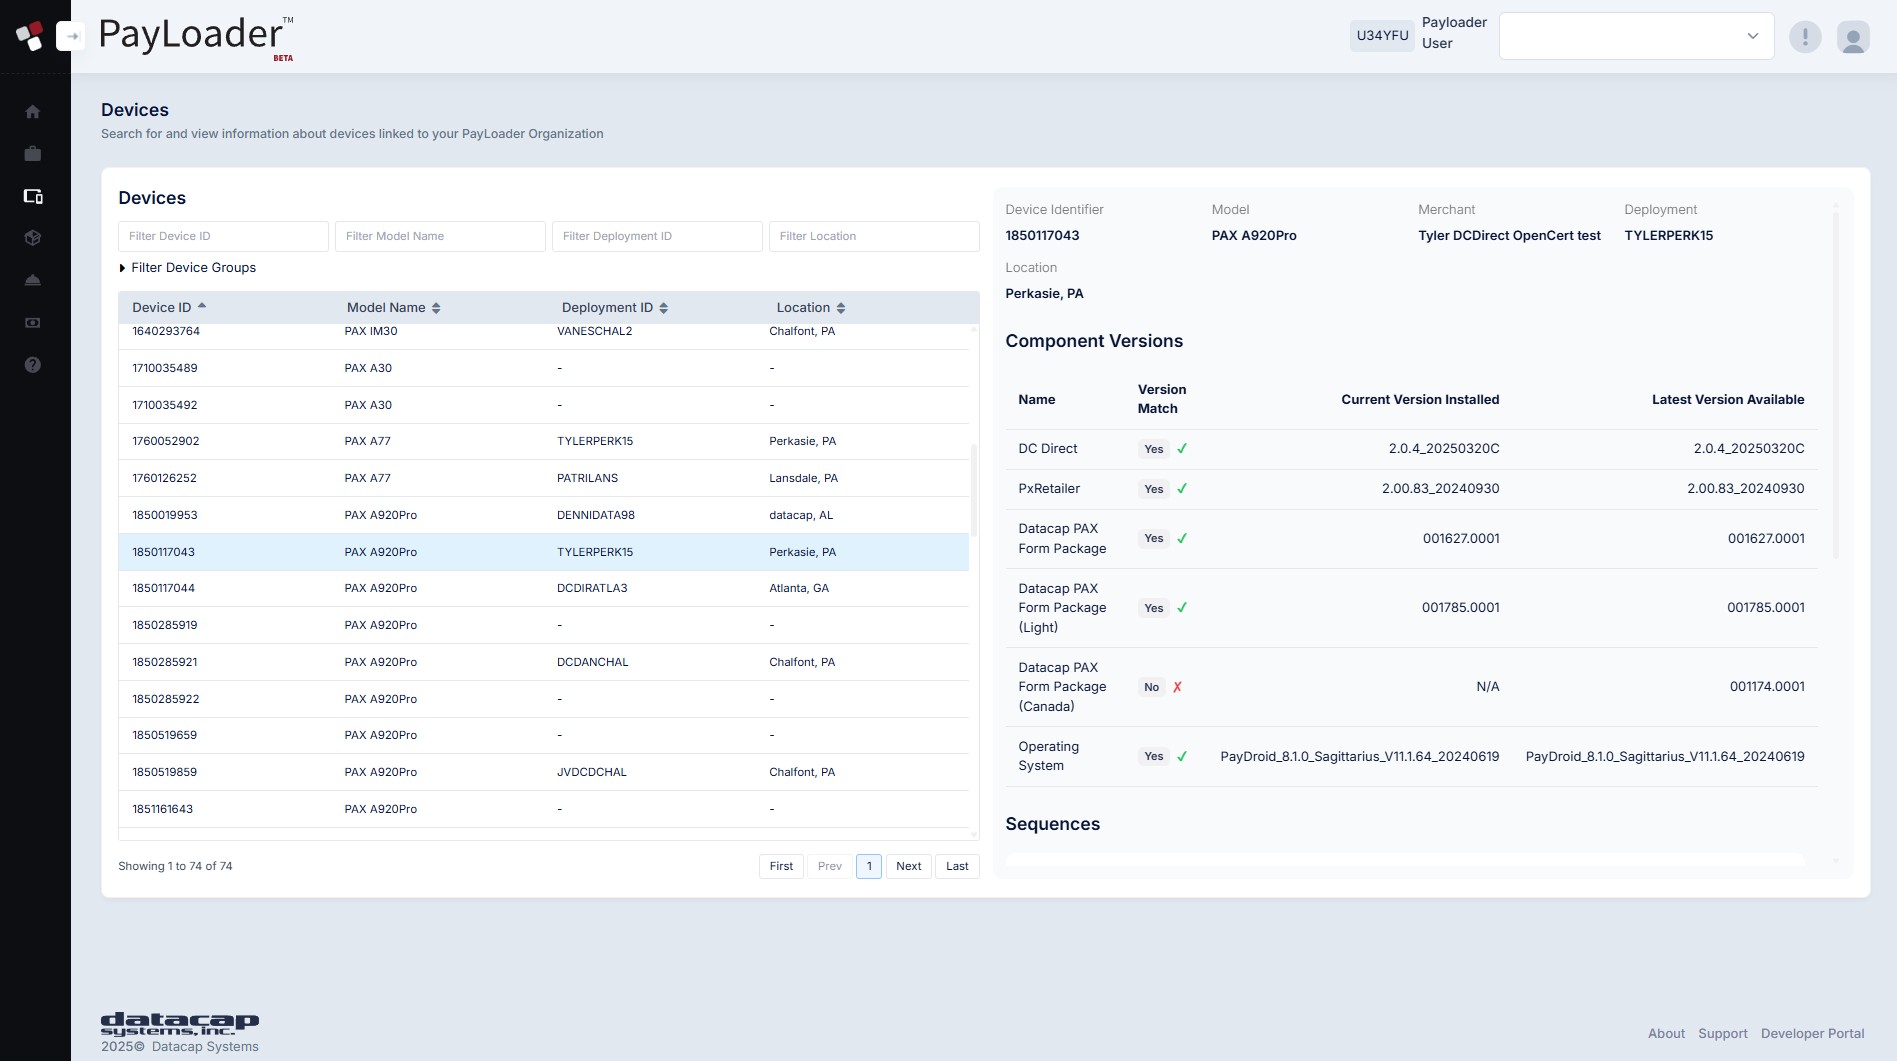
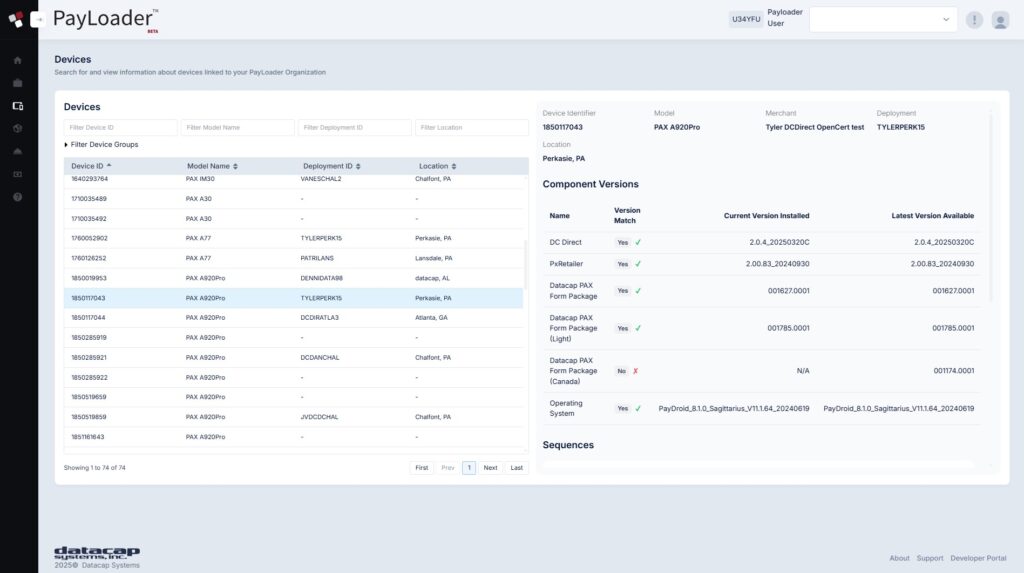
2 Return to the "View Devices" view, to view all linked devices.
Linking Devices via Linking Code
1 Open the PayLoader app on your payment device.
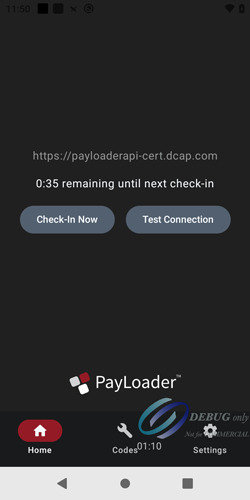
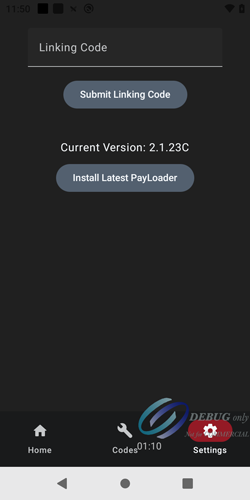
2 Go to PayLoader settings. Add your linking code (from your dashboard) and press the "Submit Linking Code" button.
Once you have devices linked to PayLoader, you can organize them into groups (i.e. merchant chain).
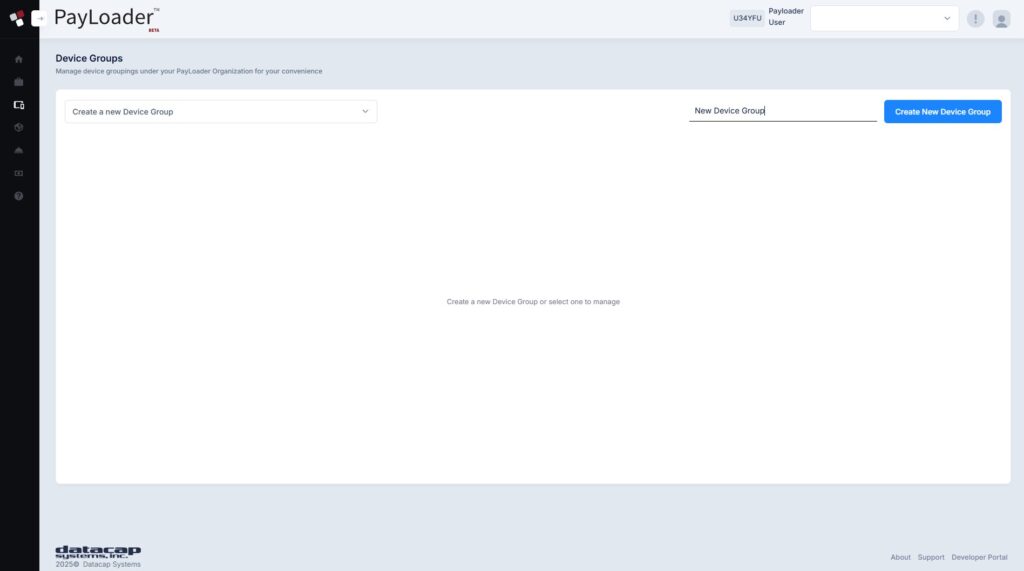
1 From the devices menu, click on the "Manage Device Groups" subtab. Create a new device group by typing the group name followed by the "Create New Device Group" button.
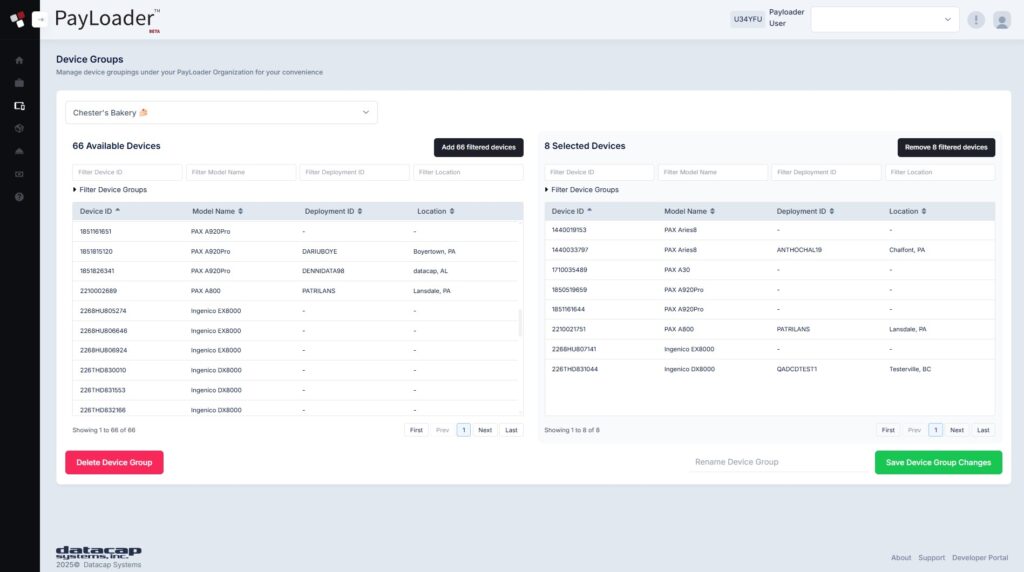
2 Select devices for the newly created device group by clicking on the devices available in the populated list. Once all the devices have been added, press the "Save Device Group Changes" button.
Updating Devices
Follow the steps below to update device components like:
- Device Firmware or OS
- PXRetailer (PAX)
- DC Direct™
- Custom user applications
- Form packages
- UX Resources (Ingenico AXIUM)
- ARC (Ingenico AXIUM)
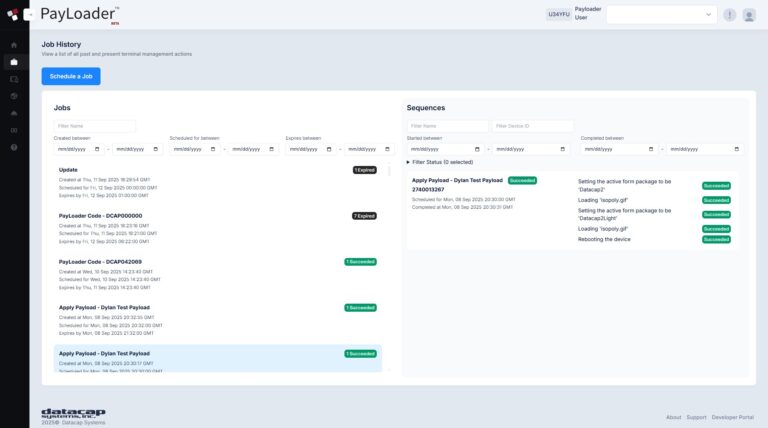
1 From the left menu, click on Jobs > Schedule a Job.
2 Select "Update Job".
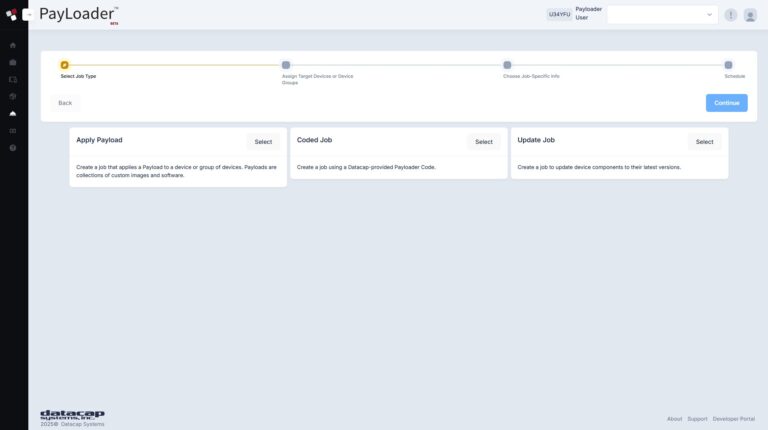
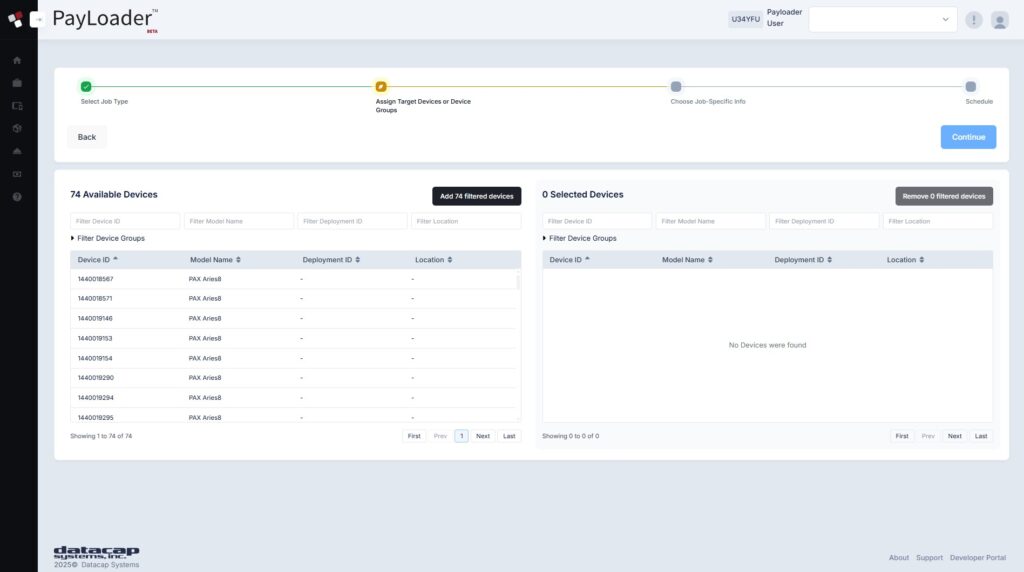
3 Add devices to the job queue by filtering, manually selecting devices, or selecting a device group from the list on the left panel. Once devices are selected, click "Continue".
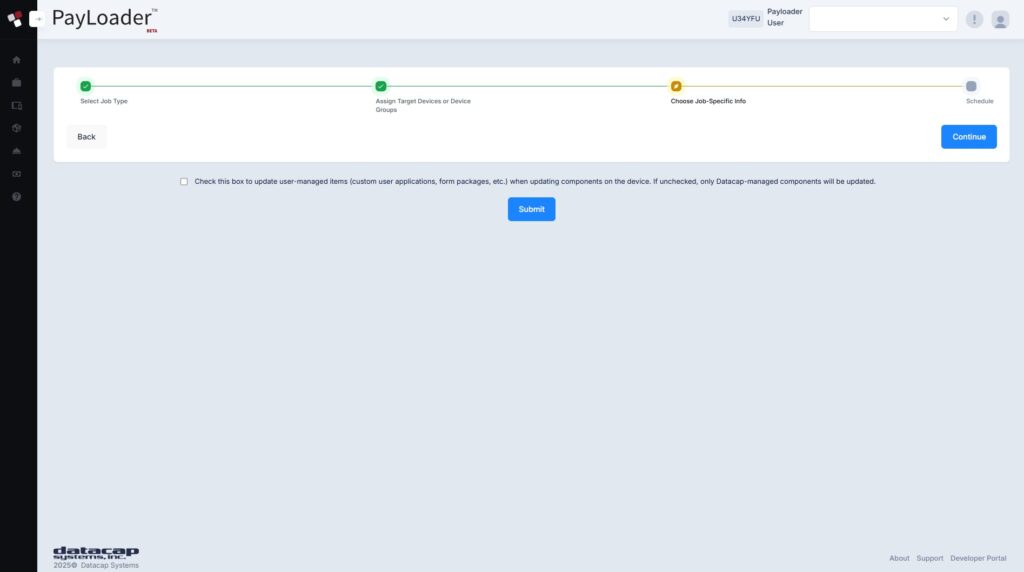
4 Optionally check the box to include user-managed items with this update (custom user applications, form packages, etc). Click "Continue".
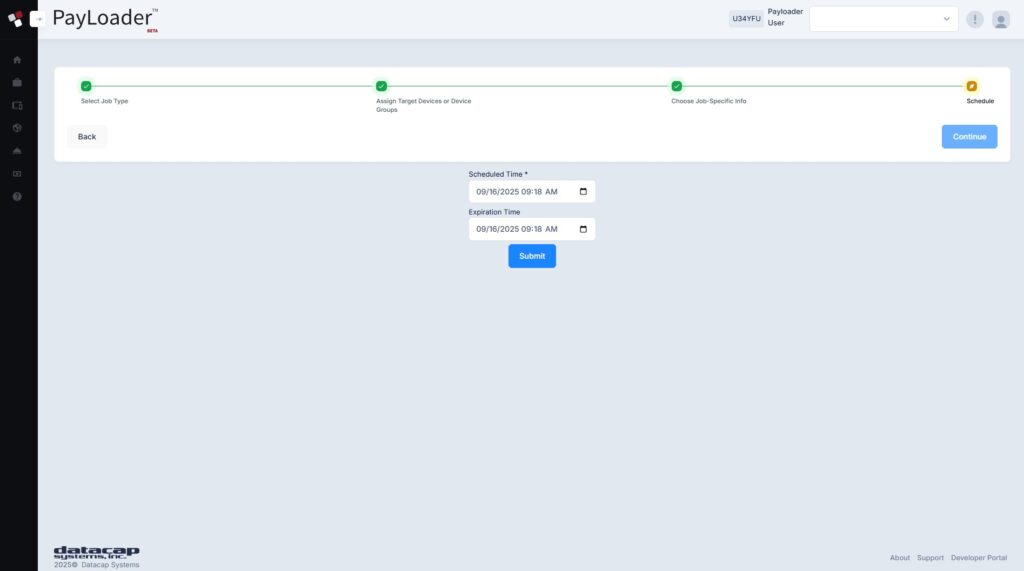
5 Select a scheduled and expiration time. Click "Submit". Learn more about job scheduling options.
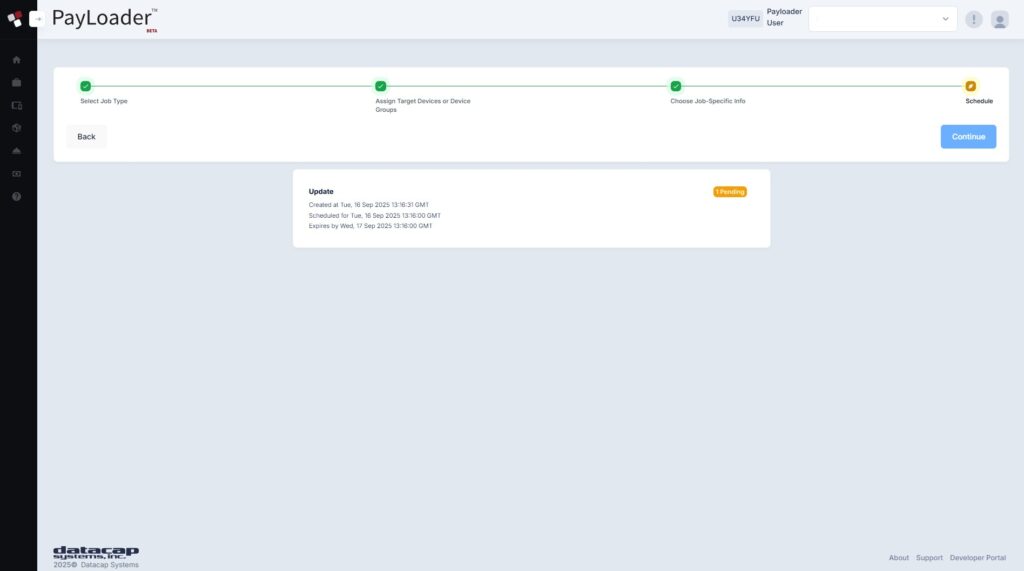
Note: if the job only shows a rebooting action, all other components on the device are already up-to-date.
Payloads
Payloads are jobs that can be applied to individual devices, groups, etc. Here are some example PayLoads that can be applied:
- Welcome Screen (branding/dynamic advertising)
- Form Packages
- Custom Applications (companion apps)
Creating Payloads
The concept for creating Payloads is very similar for the use-cases above. See below for an example for customizing device welcome/splash screen branding.
1 From the PayLoader dashboard, click on Payloads from the navigation sidebar.
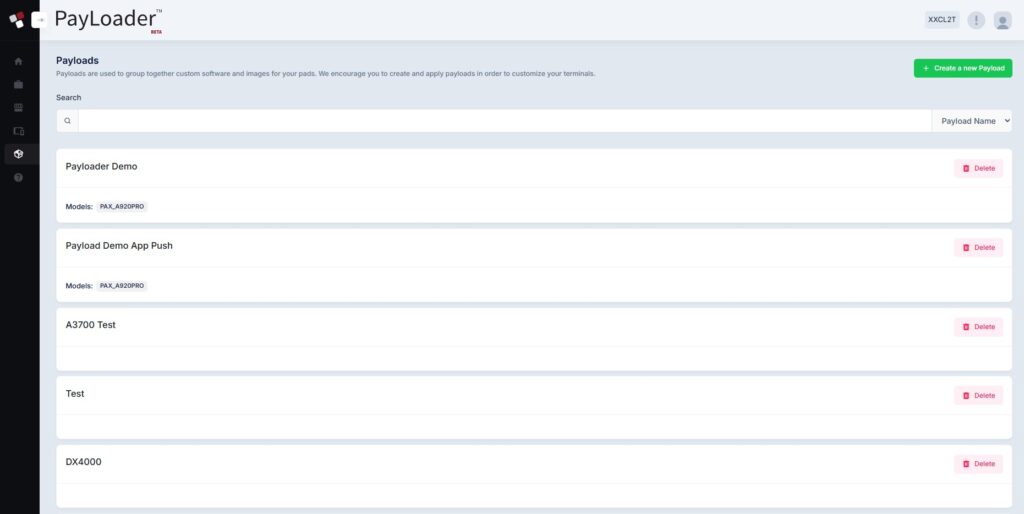
2 Previously created Payloads will display on the Payloads page. To create a new Payload, click on the "Create a New Payload" button.
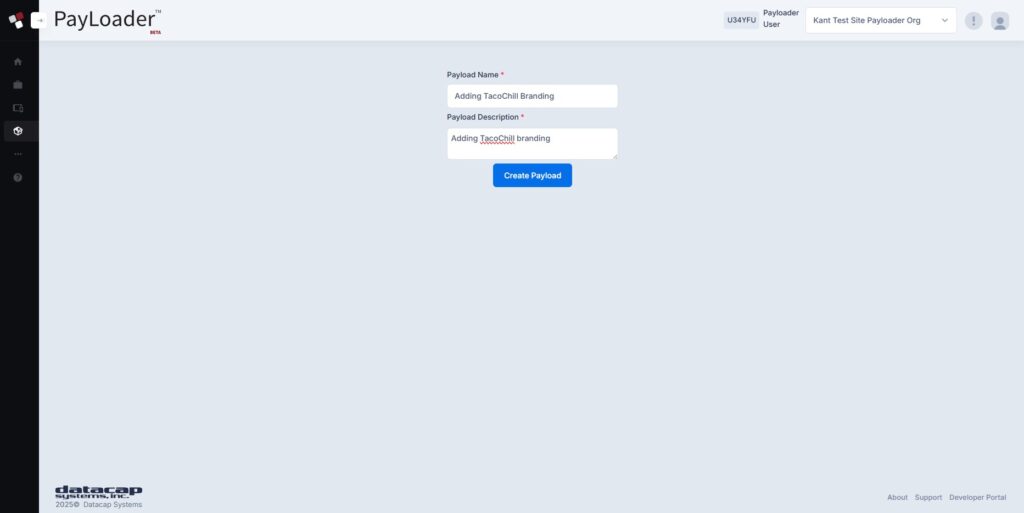
3 Add a name and description for your Payload.
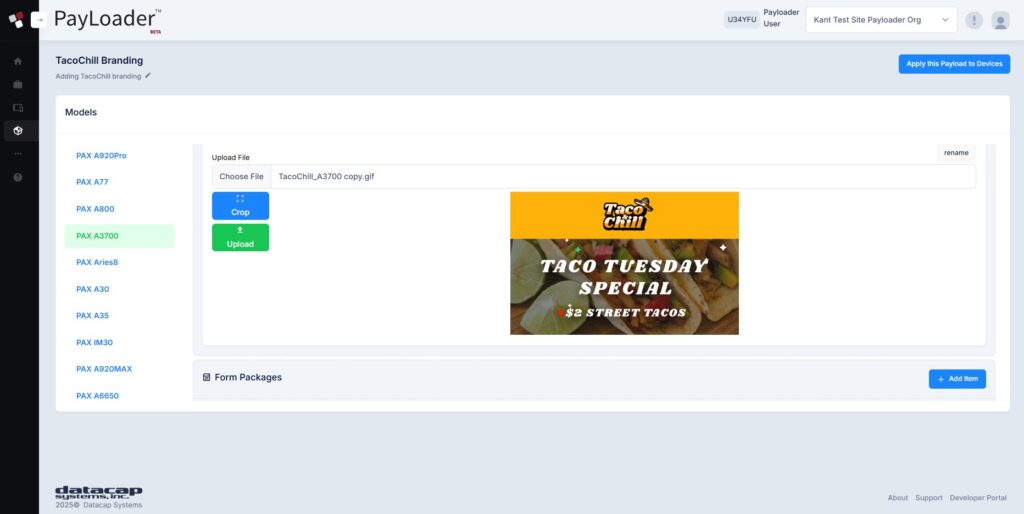
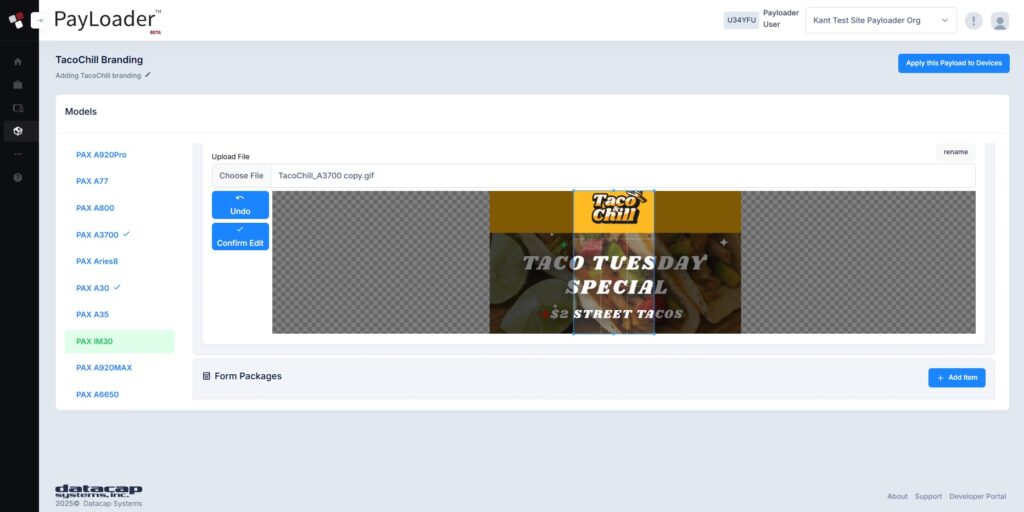
4 Select a device from the model listing and upload a file (.gif) to use for the welcome screen. Click the Upload button and confirm any additional image prompts. Repeat this step with correctly sized images for the corresponding device or use the crop feature. Fees may apply for merchant-level branding.
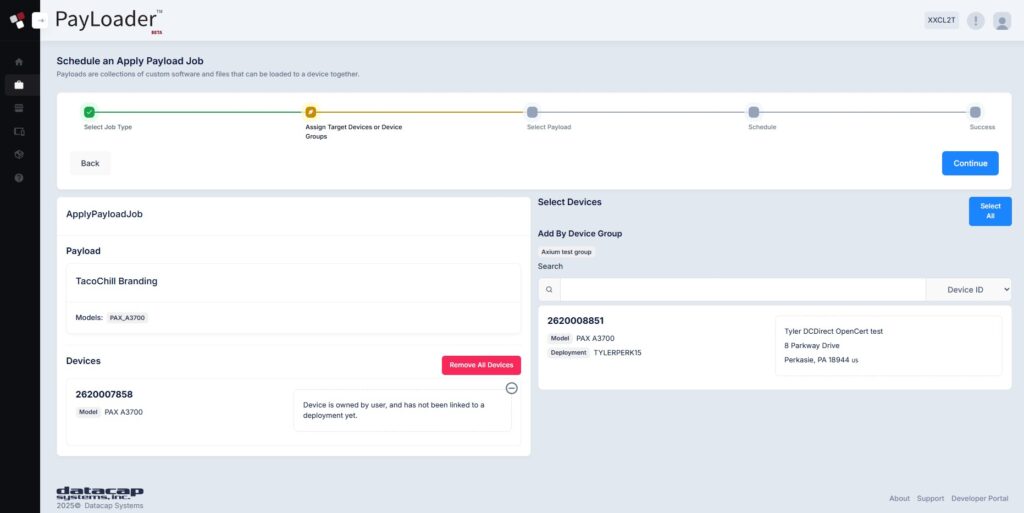
5 Click the "Apply Payload to Devices" button. On the subsequent screen, select the devices you want to apply the Payload to and click continue.
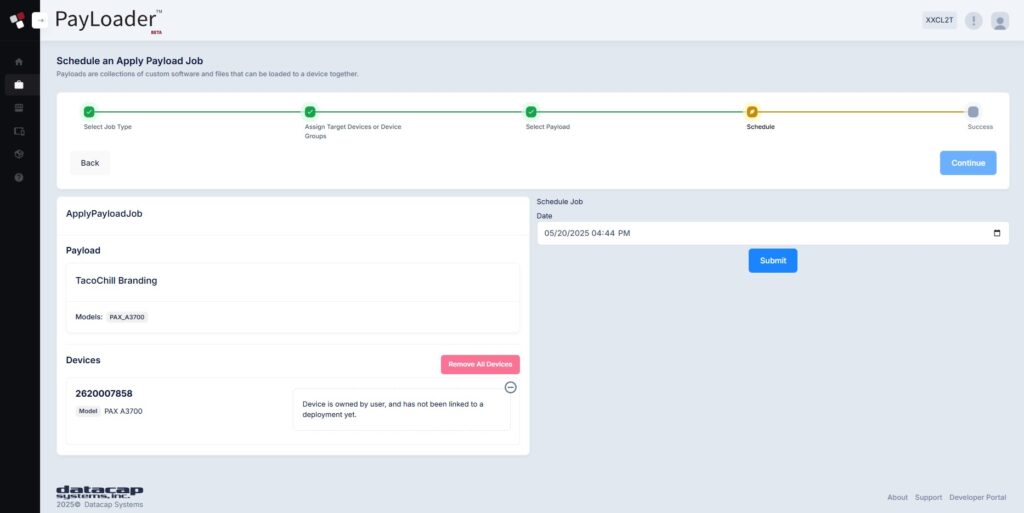
6 Click on the date dropdown to select a date and time to apply the Payload. Clicking on the calendar icon applies the current date and time. Click Submit to schedule the Payload.
Scheduling Options
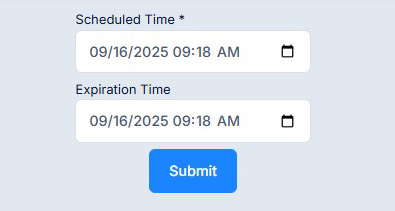
When scheduling jobs, users are presented with two options, scheduled time and expiration time. The scheduled time should be set to the user’s desired time to execute the job. The expiration time allows users to safeguard inactive devices from an infinite reboot of updates once powered on. For example, if a job was scheduled for 1,000 devices, but only 700 of them are active, the expired job would not apply to the 300 inactive devices after the expiration time has passed. If no date is selected for the expiration time, the expiration time will automatically get set for 7 days from the original scheduled time.
Splash Screen Requirements
All splash screen files should be in .GIF format (both for moving or static images). The max file size allowed is 2MB.
Screen sizes by device
We’ve prepared a pre-configured Photoshop template file containing all the device sizes for partners and merchants to use here (.zip). Screen sizes can also be referenced by device in the chart below:
| Device | Screen size (WxH) |
|---|---|
| PAX A920Pro/A77/A800 | 720px x 1440px |
| PAX IM30 | 720px x 1280px |
| PAX Aries8/A3700(Elys tablet) | 1280px x 800px |
| PAX A35 | 480px x 800px |
| PAX A30 | 1280px x 720px |
| PAX A6650 | 1080px x 2480px |
| PAX A920MAX | 720px x 1480px |
| Ingenico DX4000/EX6000 | 720px x 1280px |
| Ingenico DX8000/EX8000 | 720px x 1440px |
| Ingenico RX5000 | 480px x 800px |
| Ingenico RX7000 | 1280px x 720px |
| Ingenico RX9000 | 1280px x 800px |
Splash Screen Examples


Services
Additional PayLoader Service requests can be submitted via the “Services” section.
Note: All service requests require turnaround time (varies by service request).
Remote Key Injection
- Request remote key injection to change the PIN and/or PAN keys on your in-field devices
1 Expand the Services menu from the sidebar navigation and select "Remote Key Injection".
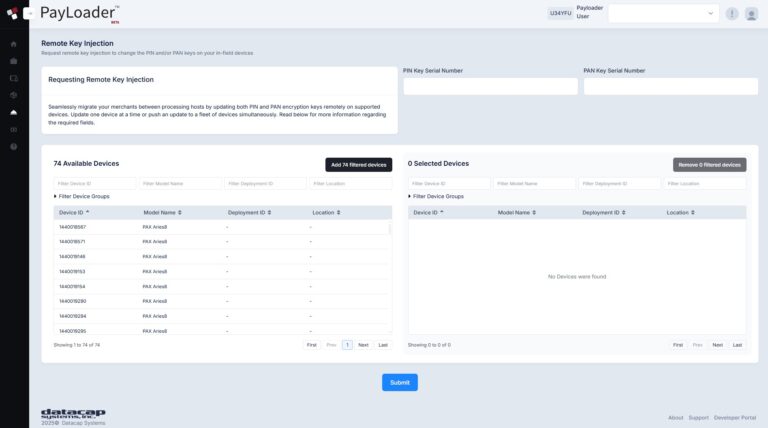
2 Enter the PIN Key Serial Number and the PAN Key Serial Number and select the devices from the left panel (via filter options or manual selection). Click the "Submit" button when finished. Fees may apply for Remote Key Injection.
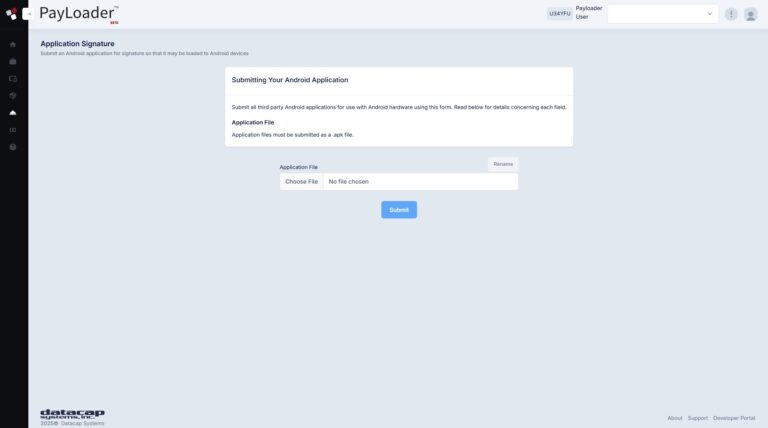
Application Signing
- Submit APK files for custom apps for signature prior to loading apps on Android devices.
1 Expand the Services menu from the sidebar and select "Submit an App". Upload your custom application (.apk file) and click on the "Submit" button.
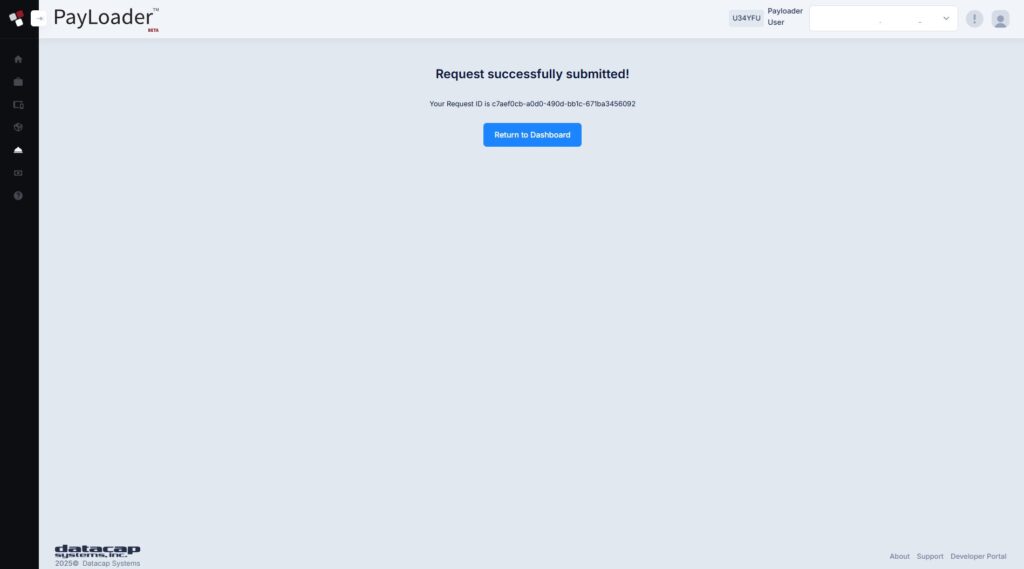
2 Once your application has been submitted, return to the main dashboard or select from additional services in the sidebar. Users will receive updates regarding their app submission via email.
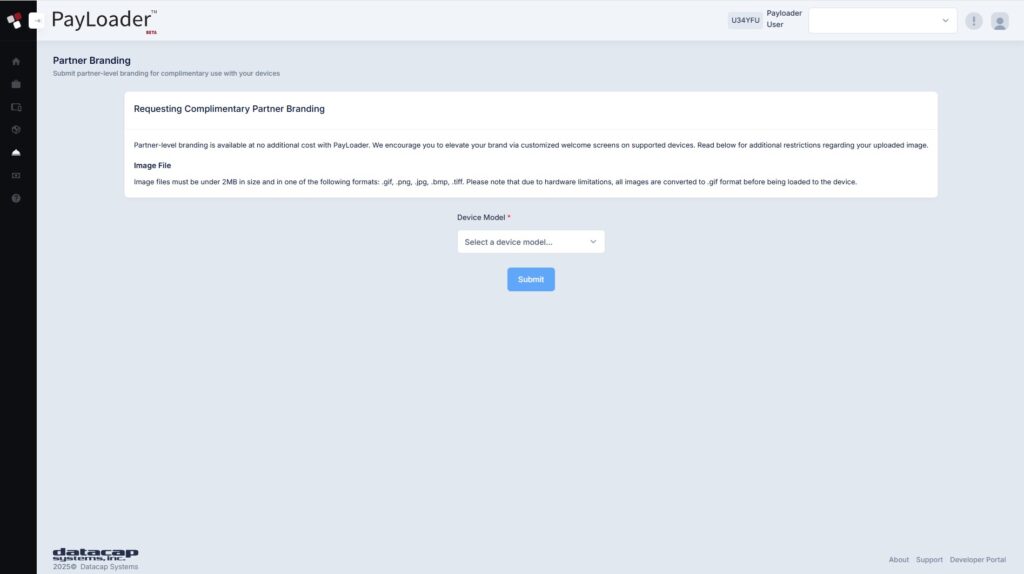
Partner Branding
- Partner-level branding is available at no additional cost with PayLoader. We encourage you to elevate your brand via customized welcome screens on supported devices.
1 Expand the Services menu from the sidebar and select "Partner Branding". Select a device from the dropdown and upload your splash screen image (.gif). Press the "Submit" button.
2 Repeat step 1 for each device that you want to apply Partner-specific branding to.
PayLoader API
Prefer to build PayLoader into your own applications? Contact us to get started with PayLoader API.