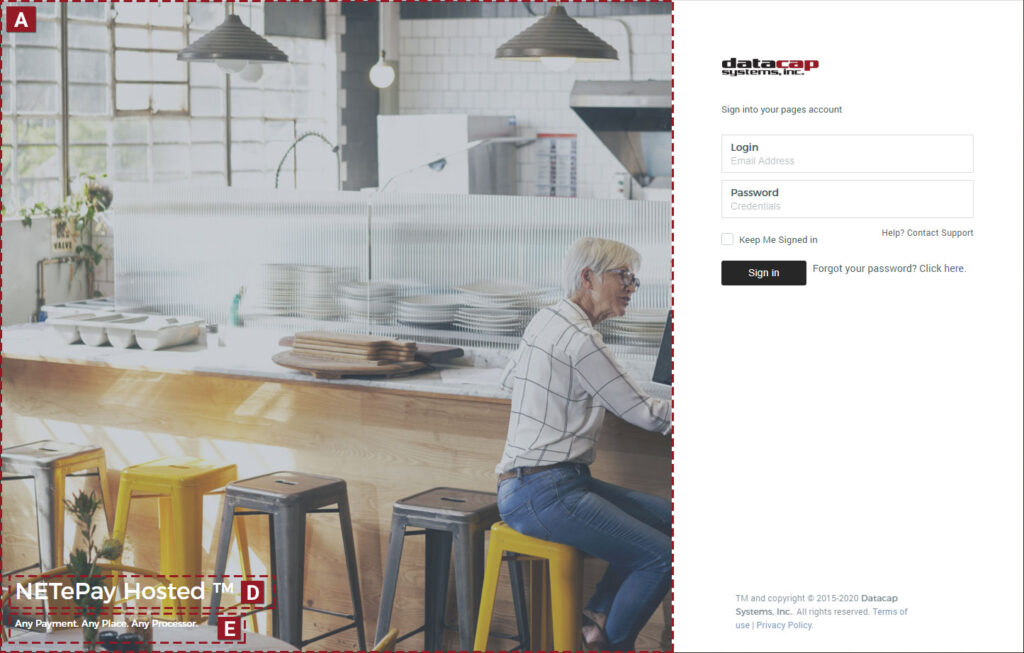
About Datacap's Reporting Dashboard
Datacap’s Reporting Dashboard shows all card-present, card-not-present and gift transactions in real-time (24/7) for Datacap partners and their merchants.

Transaction Summary Detail
To view transaction detail:
- click “↓ show more details” from the Card Transactions or Gift Summary section of the Reporting Dashboard
- From the dashboard sidebar, expand the Credit Transactions menu and select “Credit Transactions”


Advanced Live Filters
Filtering is hidden by default and can be seen by clicking the filters icon.

Users can use the “Advanced Live Filters” to view/show:
- MID
- Account Number
- Invoice
- Amount
- TranCode
- Batch
- Brand
- Reference Number
- Show non-captured transactions
Note: filter queries can be combined using AND/OR/AND NOT conditions and operators. Click “Apply Filters” to view query results.

Batch Reporting
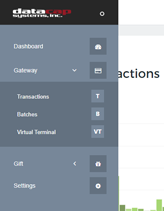
To view a batch report, select “Batches” in the “Gateway” section of the sidebar. Select which MID you want to view followed by the Date Range followed by Submit.
Note: Batch reporting is not available for First Data and Heartland.


Creating Reporting Dashboard Accounts
Admin Accounts for Dealers
- View entire merchant catalog via single login
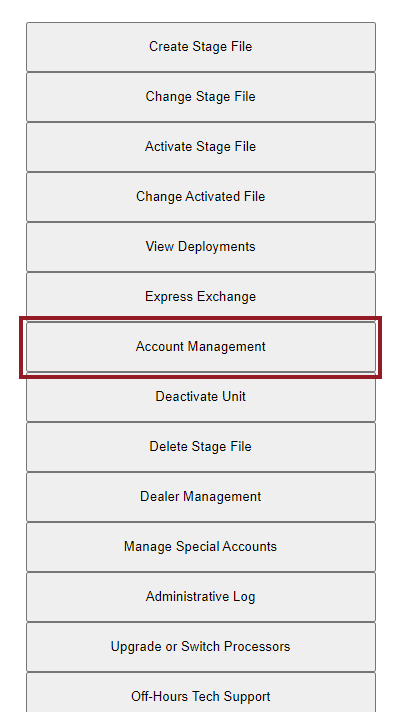
- Manage user access via “Account Management” section of PSCS™
1 In PSCS, navigate to "Account Management" from the main menu.
2 Under notifications, add all dealer contacts and make sure "Hosted Reporting" is checked.

Single User Accounts
- Access to single merchant account
- Manage user access in merchant-specific deployment in PSCS

1 In PSCS, create a "Hosted Bridge" deployment.
2 Add merchant contacts in the "Merchant Contacts for Reporting" section.
User Access Controls
- Set user access controls based on user permissions
- Manage user access in merchant-specific deployment in PSCS

1 In PSCS, expand the roles dropdown under "Merchant Contacts for Reporting" section.
2 Check the roles that apply to each user.
- Admin – Full control and access, only enable if you know what you are doing. Access to this may be restricted in the future.
- Finance – Legacy role, if you don’t already have it there is no need to enable it.
- ReportingOnly – Default user role, users can access virtual terminal and modify a single transaction at a time, but cannot access the bulk utility.
- StartTransactions – Users can access everything in ReportingOnly and run the bulk utility.
- TransactionManager – Everything in ReportingOnly and StartTransactions, but also in the future will have additional powers. This is the role you would enable if you are the admin for your business or organization in Reportal.
Account Confirmation E-mails
New users/contacts will confirm their Reportal account and create a password for access.
1 Click the "Get Started" button in the Datacap "Account Activation" e-mail. The e-mail will come from: datacap@dcap.com.
2 Create a password using the merchant or dealer e-mail specified above .


Virtual Terminal Access
Datacap’s stand-beside Virtual Terminal allows merchants to process card-not-present transactions over the phone (MOTO) via NETePay Hosted™. Here’s how to setup Datacap’s Virtual Terminal for your merchants. Once you have your Datacap Merchant ID (from PSCS or Datacap confirmation e-mail), you can start processing transactions with the Virtual Terminal.
In addition to the user access controls listed above, individual businesses can configure Virtual Terminal Access for all business users. Check the “Virtual Terminal Access is Not Restricted” box on the settings page under “Feature Access Controls”. This applies to all users of that business, regardless of role.
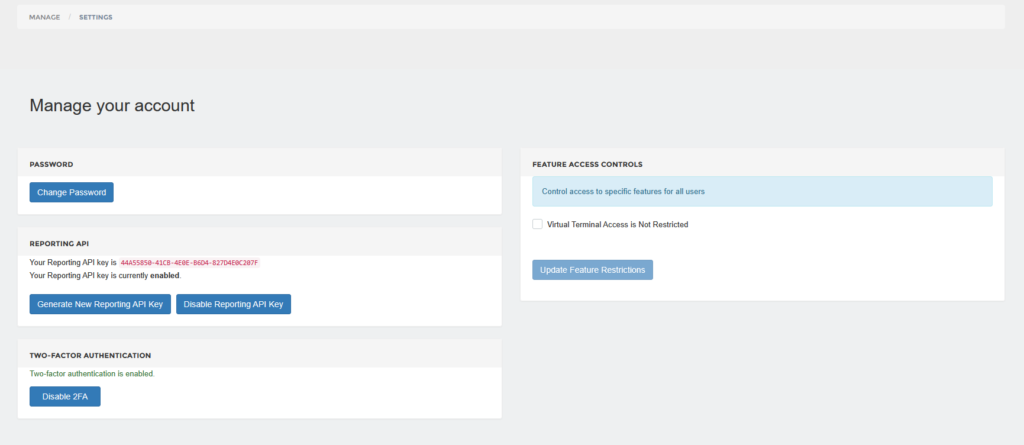
Here’s how to setup Datacap’s Virtual Terminal for your merchants. Once you have your Datacap Merchant ID (from PSCS or Datacap confirmation e-mail), you can start processing transactions with the Virtual Terminal.
1 From the Reporting Dashboard sidebar, expand the "Credit Transactions" tab and select the Virtual Terminal option.

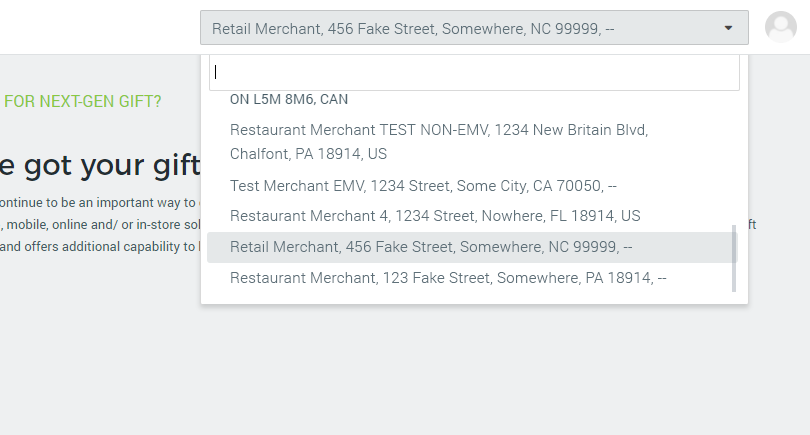
2 Select your pre-configured merchant id from the dropdown.

3 Start processing manual credit, gift or ACH payments.
Two-Factor Authentication (2FA)
Dashboard users have the option to enable Two-Factor Authentication (2FA). Users are not automatically enrolled in 2FA. In order to use transaction modifiers (see next section), users must enable 2FA. When 2FA is not enabled, users will see this message on the dashboard. Click the link in the notification window below to setup 2FA or follow the steps below.

1 From the Reporting Dashboard sidebar, click on settings > Enable 2FA.

2 Once enabled, the user will be prompted to enter the security code sent to their e-mail address to complete the login process. Codes are valid for 6 minutes.

Transaction Modifiers
Transaction modifiers are available to users after 2FA is enabled. Users can modify the following transaction types in the reporting dashboard:
Credit Transactions
- Start a new transaction
- Return
- Void
- Adjust
ACH Transactions
- Void
Pre Auth Transactions
- Capture
- Void
- Return (for preauth captures only)
Transaction Modifer Restrictions
Please note the following transaction modifier restrictions:
- The hamburger menu (next to applicable transactions) is only available for 45 days from the original transaction.
- All modifications are “by token”.
- Adjustments are only available for 48 hours after the original transaction.
- Voids are only available for 24 hours after the original transaction.
Note: there may be some variation due to time zone differences.
1 From the Transaction History, click on the "Hamburger" button next to the transaction you want to modify. Initiaite a new sale by token, adjust the transaction, perform a return, or void the transaction.

2 Modify the transaction and follow the prompts to apply your modification to the transaction.


Bulk Transaction Modifiers
Users can modify transactions in bulk using the bulk utility.
1 From the Transaction History, click on the top checkbox (selects all applicable transactions) or select the checkbox next to the transactions you want to modify. Click on the "Modify Selected" button that appears.

2 In the bulk modification utility, select the TranCode you want to modify and the modification type. Click the checkbox followed by the "Run Modifications" button to complete your bulk modification request.


Transaction Troubleshooting
Users can view Request/Response data to troubleshoot transaction errors.
1 From the Transaction History screen, click on "Show" button next to the transaction you want to evaluate.

2 View the Request/Response data fields to troubleshoot the selected transaction. You can copy/paste the requests and responses to send to Datacap support.

Datacap Gift Reporting
Users can also manage/view all Datacap Gift transactions for a single merchant or merchant chains (Group).
Gift Terms and Definitions
You can view multiple Gift Reports from the Gift section in the sidebar or by clicking “↓ show more details” from the Gift Summary section of the Reportal Dashboard.

Gift Single Merchant Location
Stored Value Account Transactions
Detailed Summary of transactions for single Account; Date/Time, Load/Sale, Amount, Location
Single Location Stored Value Current Credit
Real-Time listing of every “negative-value” Account (House Account) and associated Dollar Value
Single Location Stored Value Effective Credit
Listing of every “negative-value” Account (House Account) and associated Dollar Value at a specified date
Single Location Stored Value Current Liability
Real-Time listing of every Account and associated Dollar Value
Single Location Stored Value Effective Liability
Listing of every Account and associated Dollar Value at specified date
Single Location Stored Value Reconciliation
Summary of Total Gift Loads Less Total Gift Sales within specified Date Range
Gift Grouped Merchants
Group Stored Value Current Credit
Real-Time listing of every “negative-value” Account (House Account) and associated Dollar Value
Group Stored Value Effective Credit
Listing of every “negative-value” Account (House Account) and associated Dollar Value at a specified date
Group Stored Value Current Liability
Real-Time listing of every Account and associated Dollar Value
Group Stored Value Effective Liability
Listing of every Account and associated Dollar Value at specified date
Group Stored Value Reconciliation
Summary of Total Gift Loads Less Total Gift Sales within specified Date Range for each Location
Group Stored Value Transactions
Detailed Summary of each Gift Sale/Load; Date/Time, Card Number, Amount, Location
Gift Business (Summaries)
Transactions
All Gift Transactions filtered by: Account, Amount, Invoice, Trancode
Account Summary
Summary by Account over a specified Date Range; # of transactions, Net Change in Liability Value, Current Balance
Reporting API
Don’t want to use Datacap’s Reporting dashboard? No problem. Contact Datacap about incorporating the Reporting API into your own reporting engines or dive into the docs on our dev portal.
Example Stored Value Business Reconcile Request:
					GET https://reporting.dcap.com/v1/storedvalue/business/reconcile?StartDate=2016-10-1&EndDate=2016-10-31

Authorization: datacapMIDHERE
Content-Type: application/json
Accept: application/json
White-Labeling
Why White-label Datacap’s NETePay Hosted Platform?
- Brand it as your own
Build your brand with white-labeled merchant/partner facing reporting and Virtual Terminal. - Access to POS partners
Access 850+ (and growing) Point of Sale partners who are currently integrated. - Boost your Revenue
Choose from one of Datacap’s flexible sales options to find the solution that best fits your model. - Integration Team
Leverage Datacap’s industry-best integration team to provide integration support and onboard new partners on your behalf.

Reporting Dashboard
The following elements of the Reporting Dashboard can be customized:
- Logo
- brand/slogan/messaging
- Dashboard “login” and “welcome” screens
- Welcome/activation e-mails
- Favicon
- URL
- Card Market Gift Card Ordering page
