
Prior to connecting an Ingenico device, the Ingenico driver will have to be installed on your PC. The driver is available for download here and is located under “Device Drivers” (Ingenico Telium 2 Line).
Follow the Instructions below for Installing the Ingenico Driver:
1 Download the Ingenico Jungo Driver below (.exe).
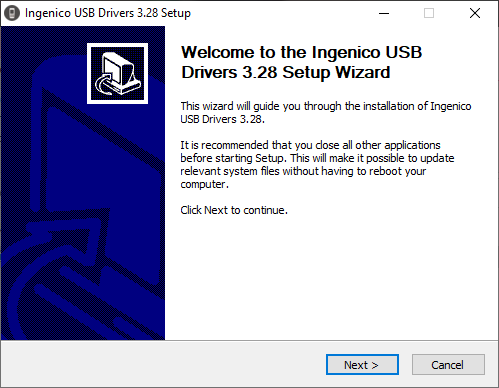
2 Select “Next” to continue with the Driver Setup Wizard.
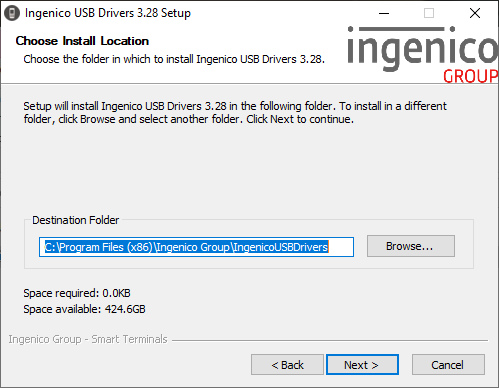
3 Click “Next” to accept the default install location.
4 Install the driver with “Usb Driver parameters” configured as shown below substituting a COM port number not already in use in the bottom left corner.
- Check “Force COM Port Feature enabled”.
- Enter the desired (and available) COM number in the left most box of “Select by Connection Order”.
- Click “Next”.
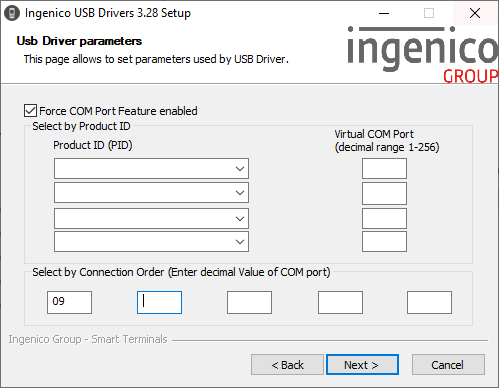
Note: The above settings tells the Jungo driver that any supported device which is connected should be COM 9 in this case.
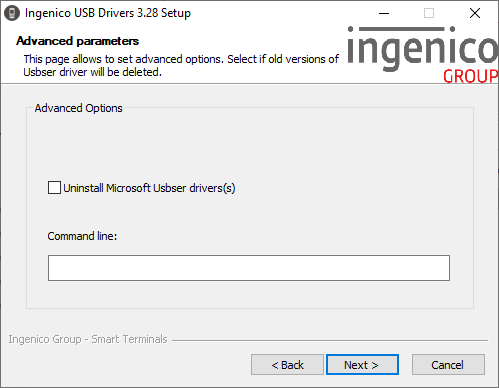
5 Uncheck “Uninstall Microsoft Usbser driver(s)” then Click “Next”.
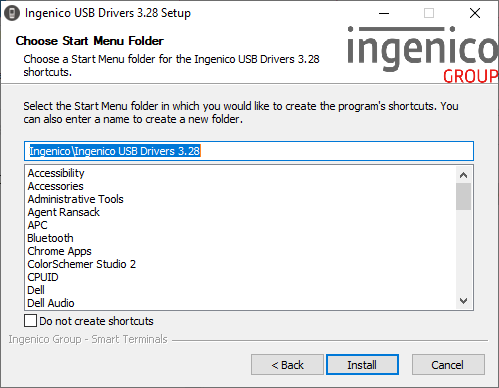
6 Click “Install” to accept the default start menu folder and install the driver.
7 Click “Finish”.
