Datacap Logo

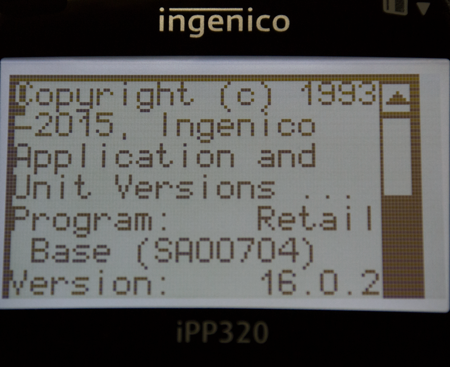
Ingenico iPP 320 – Mac Address

What do I need to set-up the iPP320?

  • Ingenico iPP320
  • iPP320 power supply
  • iPP320 Ethernet cable
  • TranCloud Unit
  • TranCloud power supply

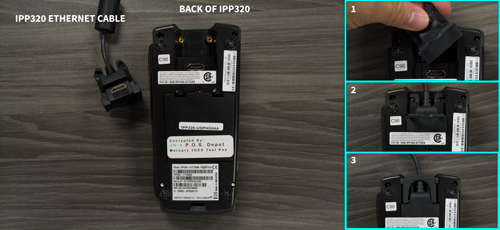
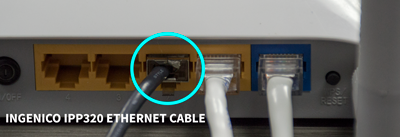
1.) Connect iPP320 Ethernet cable to the back of the Ingenico iPP 320 and into one of the LAN ports on your internet router. Connect iPP 320 power supply to 120V power outlet and to the back of the iPP 320 Ethernet cable.

Ipp 320 Connections
Router

2.) Once the iPP 320 loads the “splash” screen, quickly press 2-6-3-4, green enter key, followed by the “F” key.

Splash Screen
iPP 320 Buttons

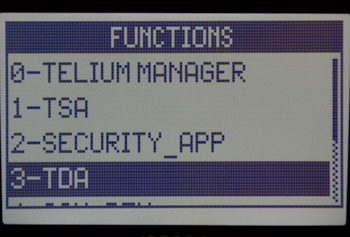
3.) Use the “F2/F3” keys to scroll down and select “TDA”. Press the green enter key.

F2 and F3 keys
TDA

4.) For the remaining steps, you’ll need to use the “F2/F3” keys to scroll up and down and the green enter key to confirm selections and make changes. Select
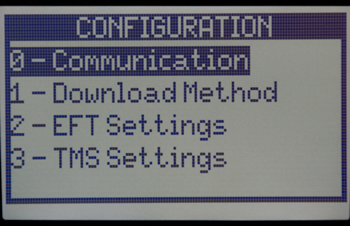
“Configuration” and press the enter key, “Communication” and press the enter key, and “Select Comm. Type” and press the enter key. Choose “Ethernet” and press the green enter key.
Configuration
Communication
Select com type
Ethernet

5.) Press the Red button to return to “Communication”. Scroll down to “Ethernet settings” and press the enter key. Scroll down to “DHCP” and press the enter key. Select “Auto” and press the enter key. Be sure to press the enter key after changing any settings.

Ethernet Settings

Scroll through the remaining “Ethernet settings” options to confirm the following settings:

  • “Connection Method” is set to “Server”
  • “IP Port” is set to “12000”
  • “-SSL” is set to “No”

6.) Press the red cancel key three times. Press the “1” key (Yes) at the “Save and Reboot” screen. The iPP320 will then reboot.

Save and Reboot

7.) Connect TranCloud unit to 120V power outlet using included TranCloud power supply.