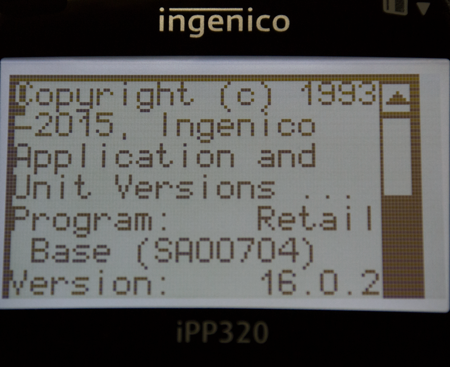
3.) Once the iPP 320 loads the “splash” screen, quickly press 2-6-3-4, green enter key, followed by the “F” key.
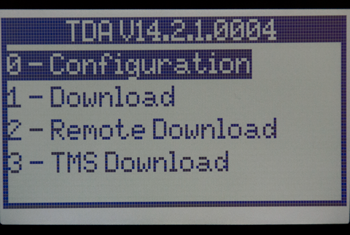
5.) For the remaining steps, you’ll need to use the “F2/F3” keys to scroll up and down and the green enter key to confirm selections and make changes. Select
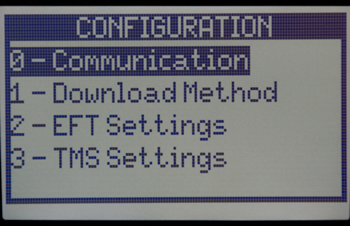
“Configuration” and press the enter key, “Communication” and press the enter key, and “Select Comm. Type” and press the enter key. Choose “Ethernet” and press the green enter key.
6.) Press the red button to return to “Communication”. Scroll down to “Ethernet settings” and press the enter key. Scroll down to “IP Address” and press the enter key to enter your wireless network’s IP Address. Press enter. Scroll down to Select “Gateway” and press the enter key to enter your Gateway Address. Be sure to press the enter key after changing any settings.