
DC Direct Set-up Guide / RX7000 Connection Methods / Ingenico RX7000 Ethernet
What do you need to connect the Ingenico RX7000 via Ethernet?
1 Connect the RX7000 dual Ethernet cable to the RX7000's back plate and the LAN port and to your network.
If using DHCP, no further setup should be required (Ethernet w/ DHCP is enabled by default). If using Static, continue to the next steps.
1 Swipe up from the bottom of the screen.
2 Touch the back key ◁ twice.

3 When prompted for Back Desktop password type "350000". Touch "Accept".

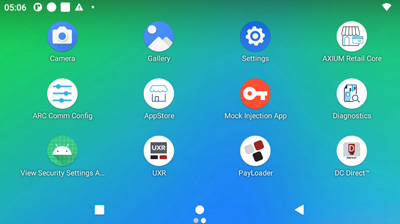
1 From the Android Desktop, touch "Settings".
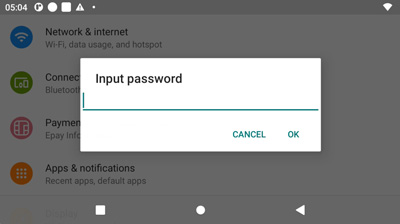
2 When prompted for password, type"350000". Touch "OK".
3 Touch "Network & Internet" >"Ethernet" > "Configure Ethernet".

4 Choose the "Connection Type" > "Static IP".
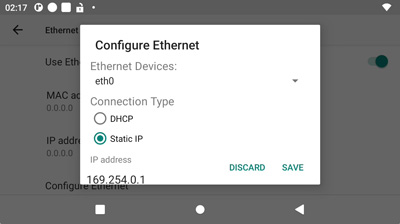
Enter the values for the following by scrolling under the Static IP settings:
5 Touch "SAVE".
6 Touch the home button ○ to return to Android Desktop.
Configure your Point of Sale using the DeviceID, the corresponding Merchant IDs (MIDS), and Terminal IDS (TIDS).
If using Wi-Fi or Ethernet connected PIN Pads, configure your POS with the corresponding IP addresses and port numbers from Step 4 above.
1 Tap the DC Direct app from the Android Desktop To view the DeviceID (serial #) and connected IP address.
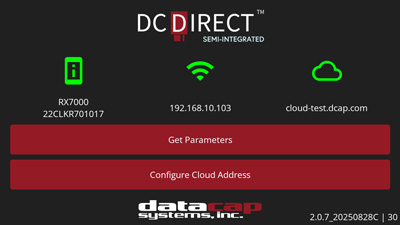
2 Touch the home button ○ to return to Android Desktop.
3 Touch "UXR" to return to Welcome Screen.
If you need help pairing DC Direct, contact your POS provider for specific instructions.
Initiate a $1.00 test sale from your POS.
