
DC Direct Set-up Guide / Ingenico EX8000 Wi-Fi (Static IP)
What do you need to connect the Ingenico EX8000 via Wi-Fi (Static IP)?
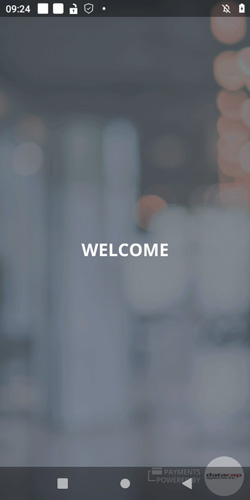
1 Swipe up from the bottom of the screen.
2 Touch the back key ◁ twice.
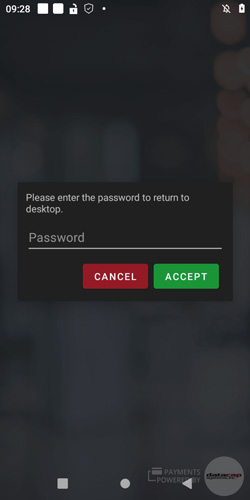
3 When prompted for Back Desktop password, type "350000". Touch "Accept".
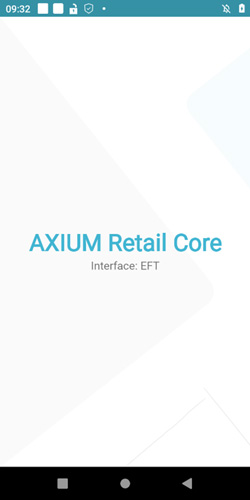
4 On the AXIUM Retail Core screen, Touch the ○ button.
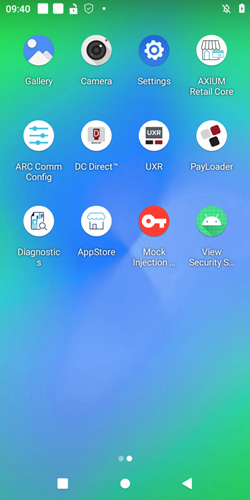
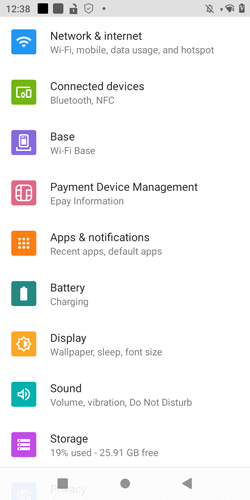
1 From the Android Desktop, touch "Settings" (swipe right if not visible on home screen).
2 When prompted for password, type "350000". Touch "OK".
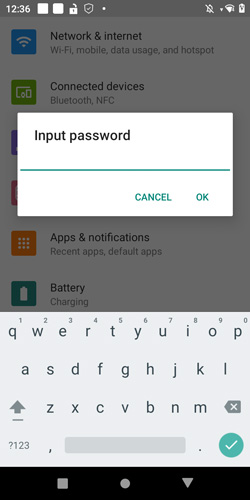
3 Touch "Network & Internet" > "Wi-Fi".
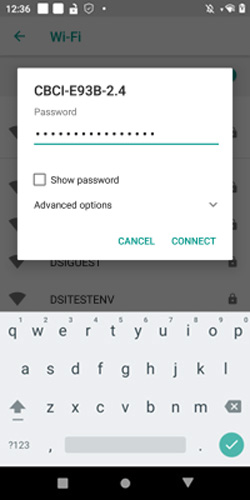
4 Select the SSID of your access point. Type your network's password. Touch "Advanced options" > "IP Settings". Touch "DHCP" and select "Static".
Enter the values for the following:
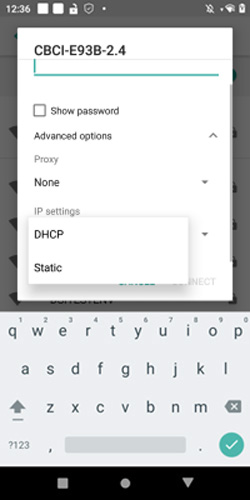
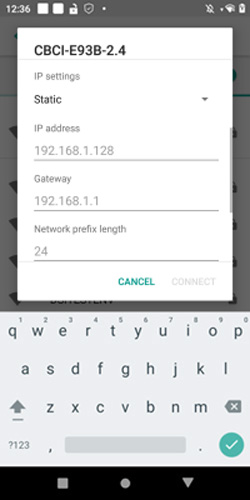
5 Touch "Connect".
6 Touch the home button ○ to return to Android Desktop.
Configure your Point of Sale using the DeviceID, the corresponding Merchant IDs (MIDS), and Terminal IDS (TIDS).
If using Wi-Fi or Ethernet connected PIN Pads, configure your POS with the corresponding IP addresses and port numbers from Step 4 above.
1 Tap the DC Direct app from the Android Desktop To view the DeviceID (serial #) and connected IP address.
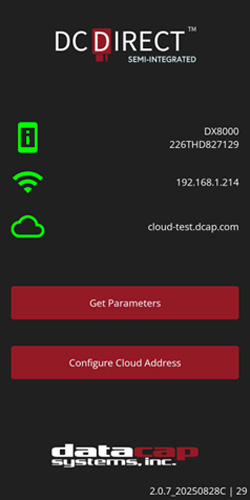
2 Touch the home button ○ to return to Android Desktop.
3 Touch "UXR" to return to Welcome Screen.
If you need help pairing DC Direct, contact your POS provider for specific instructions.
Initiate a $1.00 test sale from your POS.


We use cookies and similar technologies for analytics and advertising, including services from Google, LinkedIn, and others. These don't run until you choose. Accept, deny, or view preferences.